Date: July 23, 2022
Place: University of Guelph, outside volleyball court (sand).
Time: 1:16 pm – 2:18 pm
Main references:
‘The Science and Art of Tracking’, Tom Brown Jr., Berkley Books, New York
Weather: 27 C +, dry, hot and moderately windy.
Context:
I had recently spent the weekend with the Tracking Apprenticeship class studying Pressure Releases from Tom Brown’s book. The first day was spent trying to reproduce some of the Pressure Releases in a sand box. The second day we were looking for Pressure Releases in the field. The current blog is my first attempt at reproducing some Pressure Releases on my own, although I had studied them in an academic way some years ago.
Tracking area:
An outdoor volleyball court made of pure sand at the university of Guelph was ideal. I brought a garden rake for smoothing the surface out between each attempt, and an umbrella to create shade when taking photographs. I also had a notebook and pen so that I could number and add notes associated with the photographs for reference later. This was important as it is easy to forget what one was doing to create a given set of tracks.
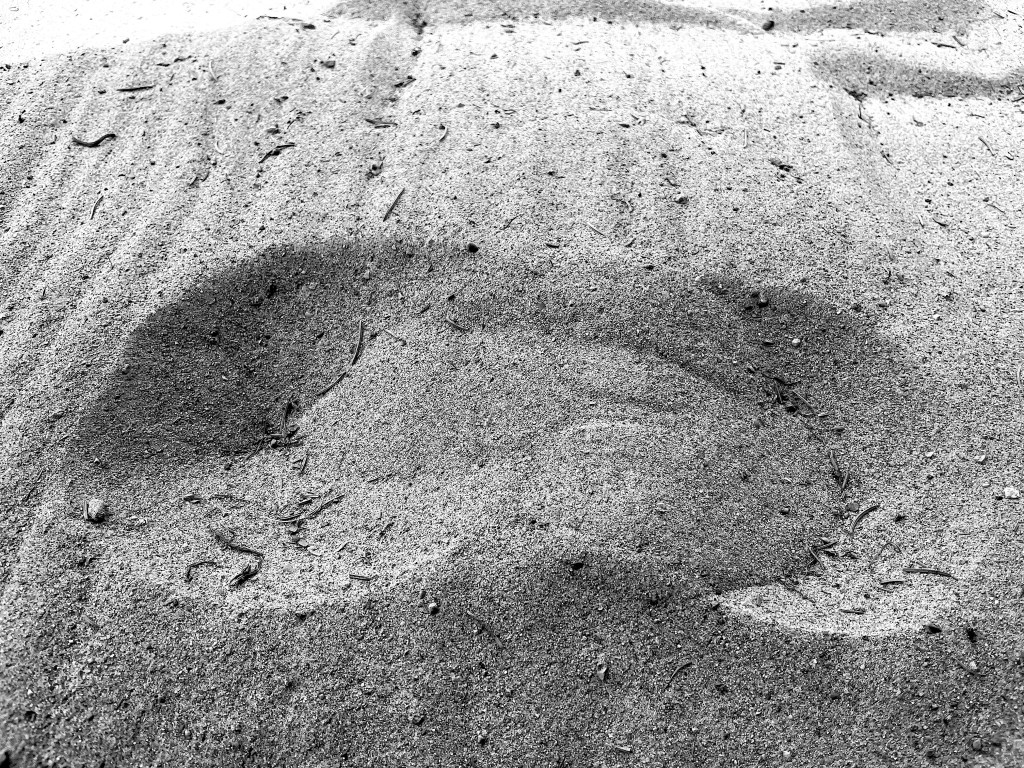
Series 1:
For the first set of tracks I did a slow steady walk. My intention here was to try and create a Pressure Release called a Cliff. The photos for this are given below:
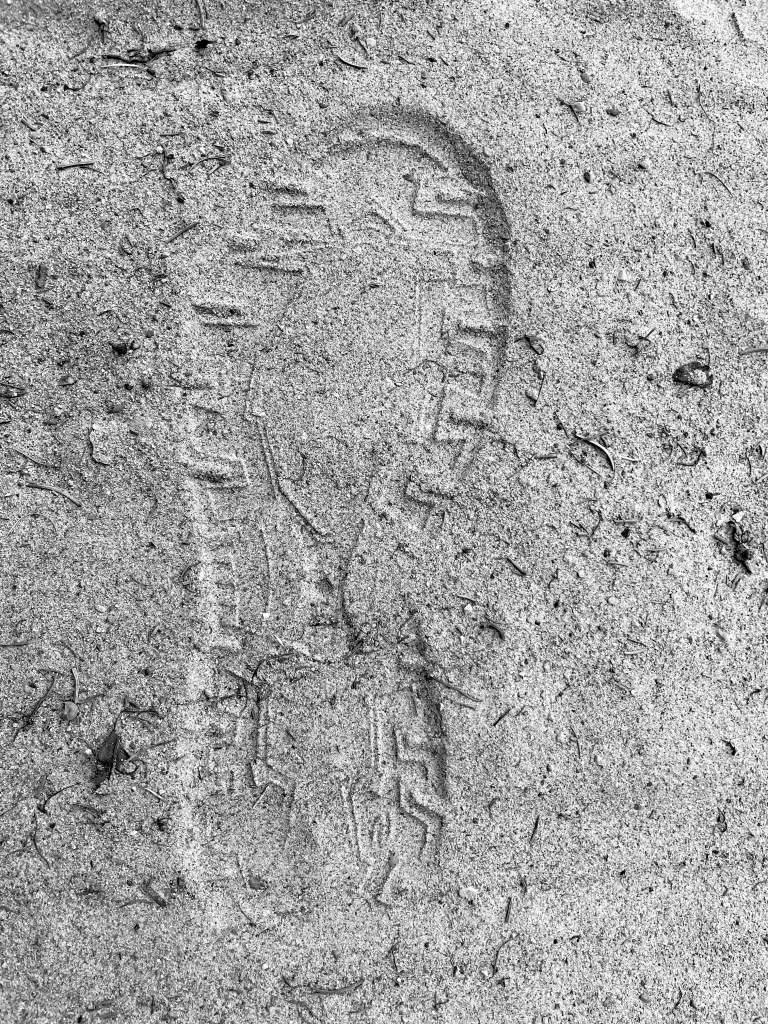
(Click individual photos for more detail.)
As far as I could see, the track wall rises from the true track to the track horizon without extending above the horizon. However, this is hard to see as the height of the track wall is small and the light very bright.
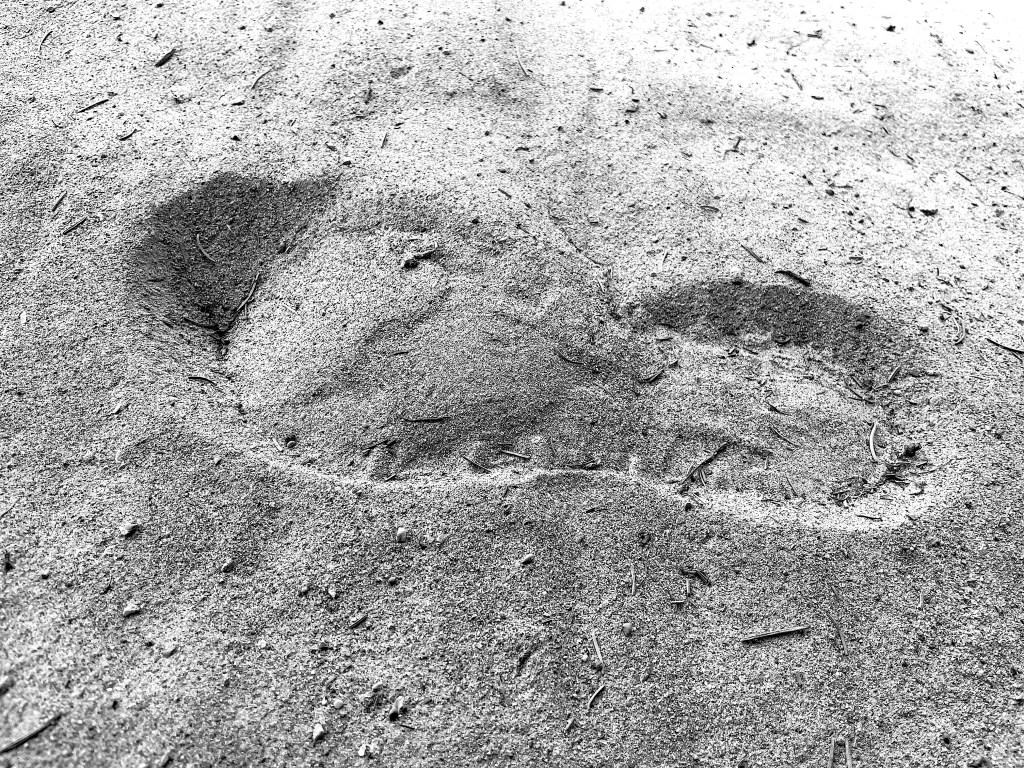
Series 2:
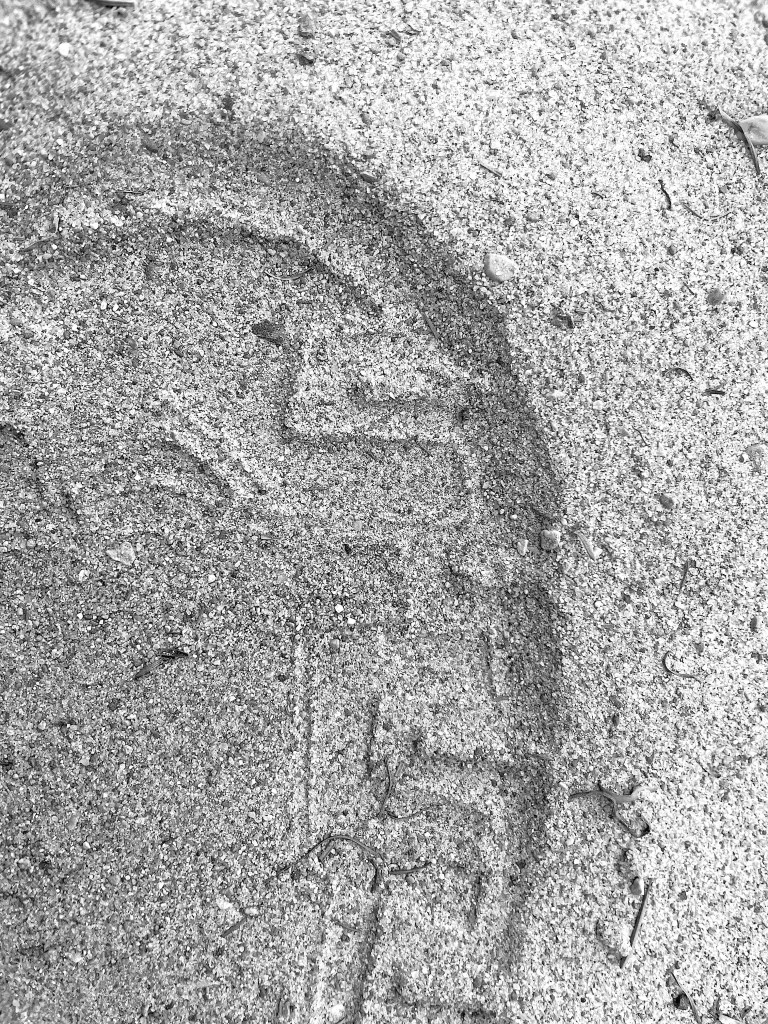
For the 2nd set of tracks I did a slow walk, stopped with my right foot in front of my left, and then turned slightly to look to the right. (Roughly, the turn should correspond to the hour hand of a clock turning to 12:15.) My intention here was to try and create a Pressure Release called a Ridge. The photos for this are given below:
(Click individual photos for more detail.)
As far as I can tell, the track wall rises from the true track up slightly beyond the track horizon (as required for a Ridge). Again, this is really hard to see, and difficult to capture in a photo.
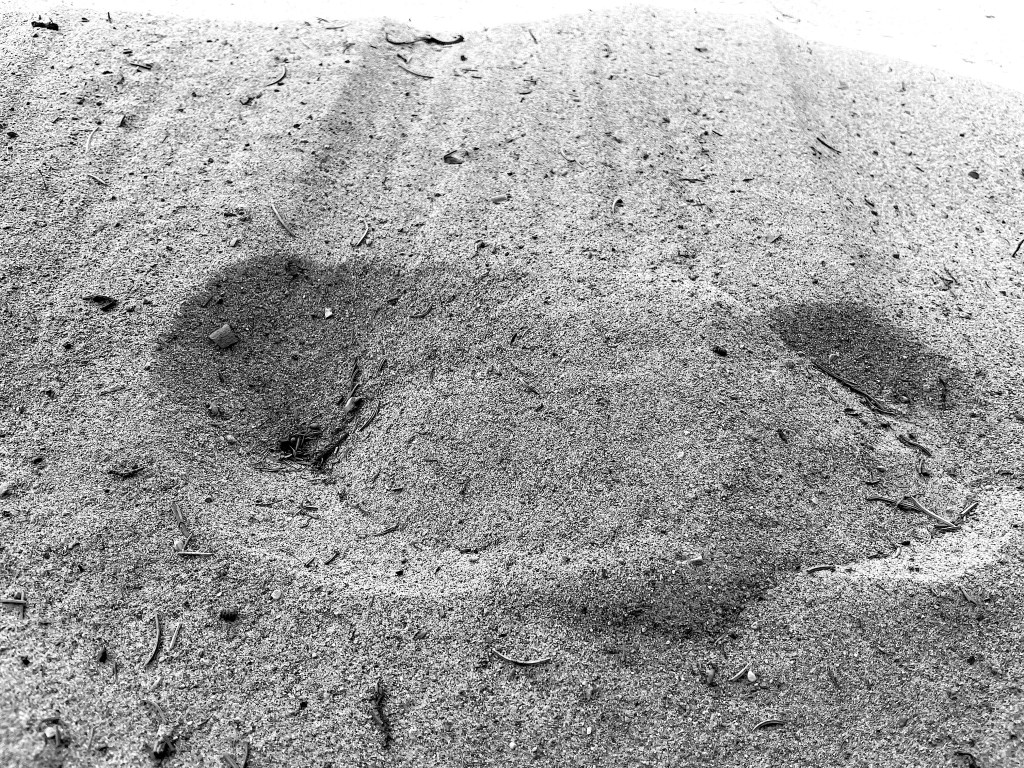
Series 3:
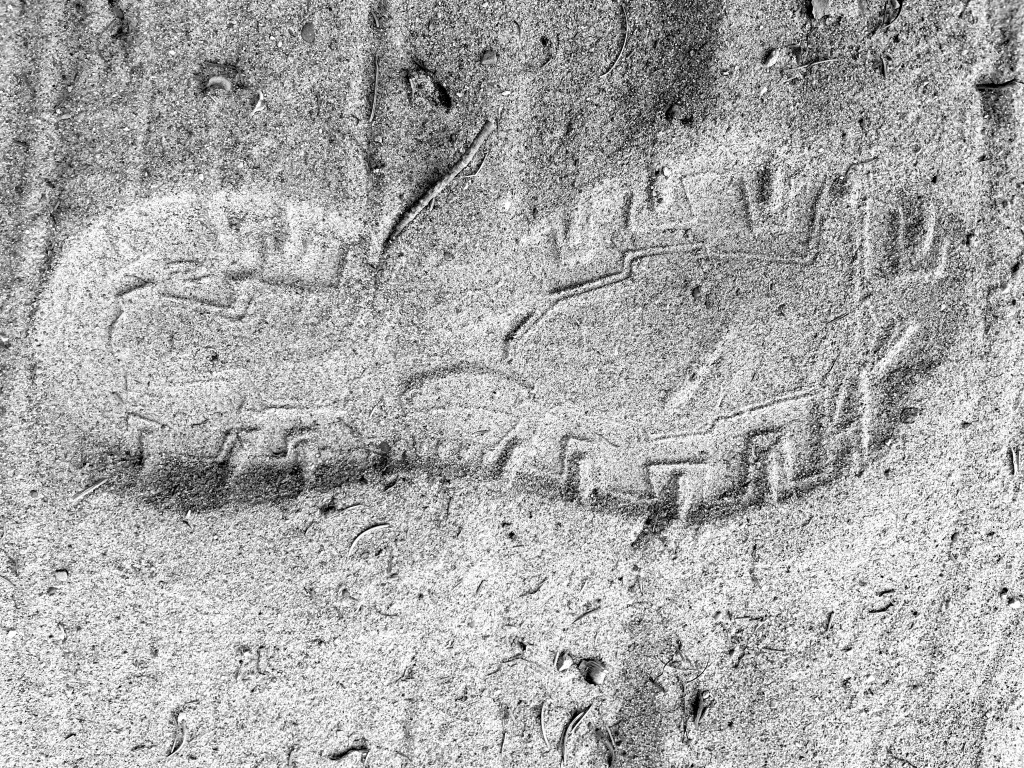
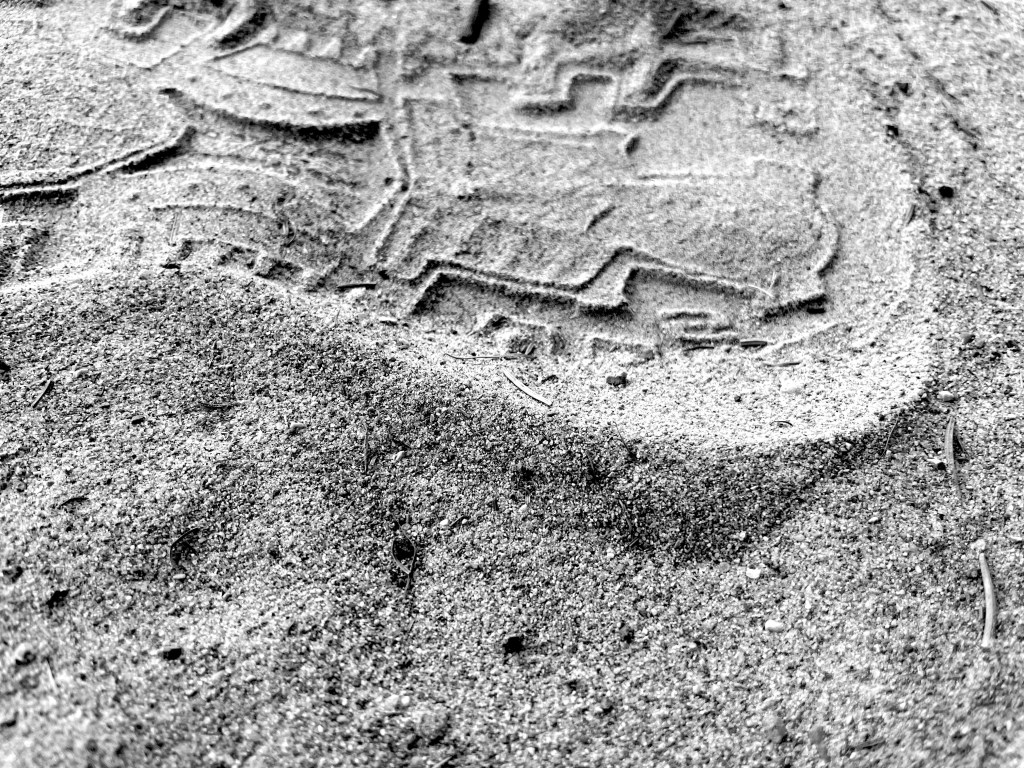
For the 3rd set of tracks I walked (medium speed) into the tracking area and stopped. My intention here was to try and create a Pressure Release called a Peak. The photos for this are given below:

(Click individual photos for more detail.)
A Ridge is clearly seen in the toe area of the track. Furthermore, there is a highest point of the Ridge called a Peak (corresponding to the point where highest pressure was applied).
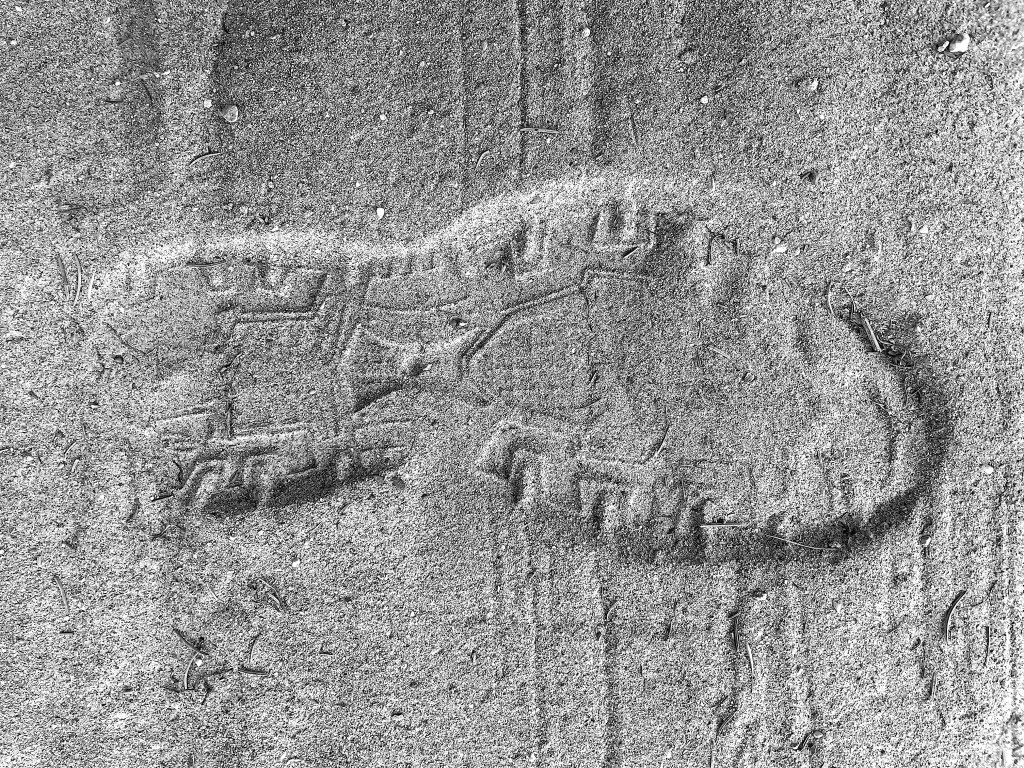
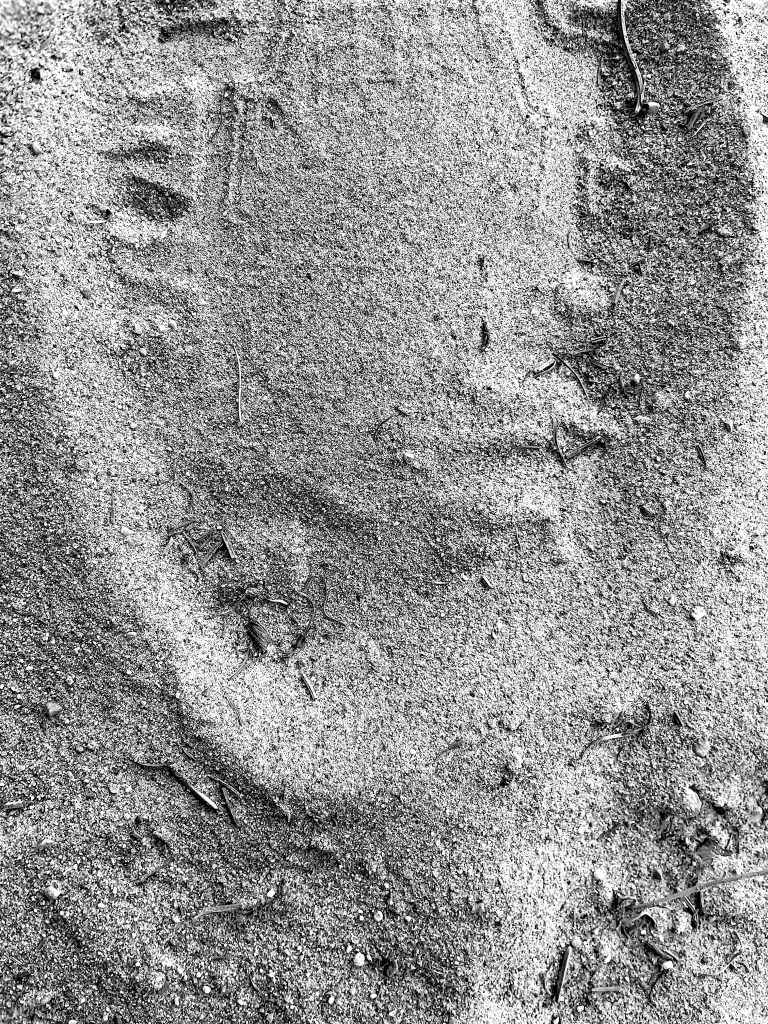
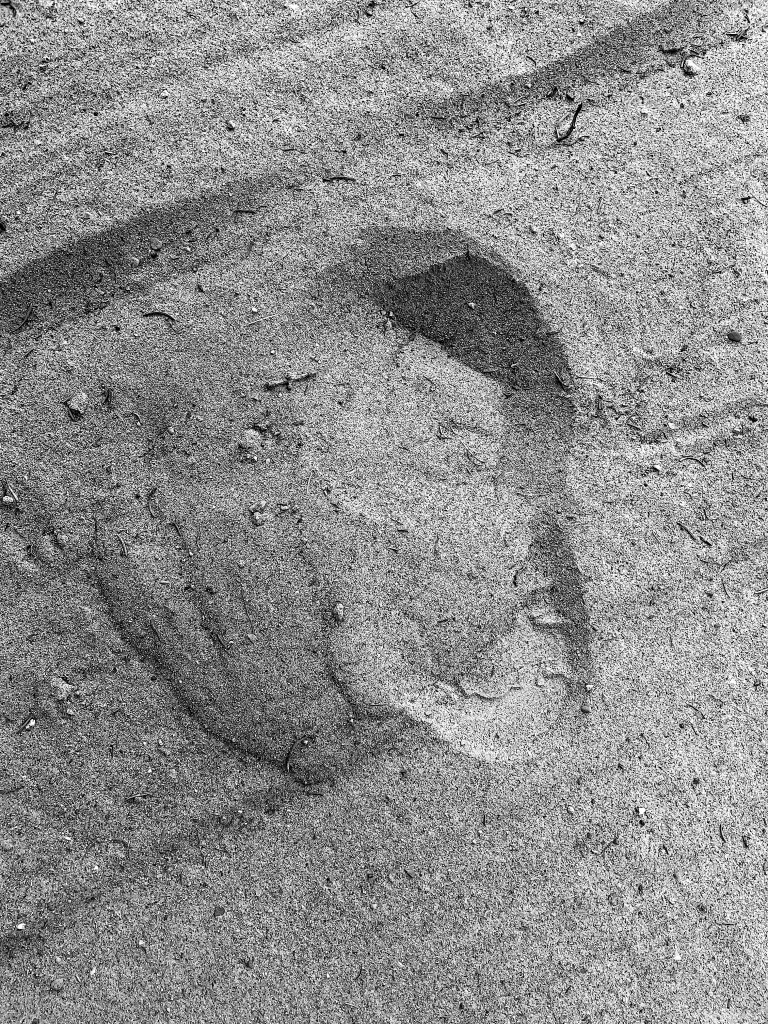
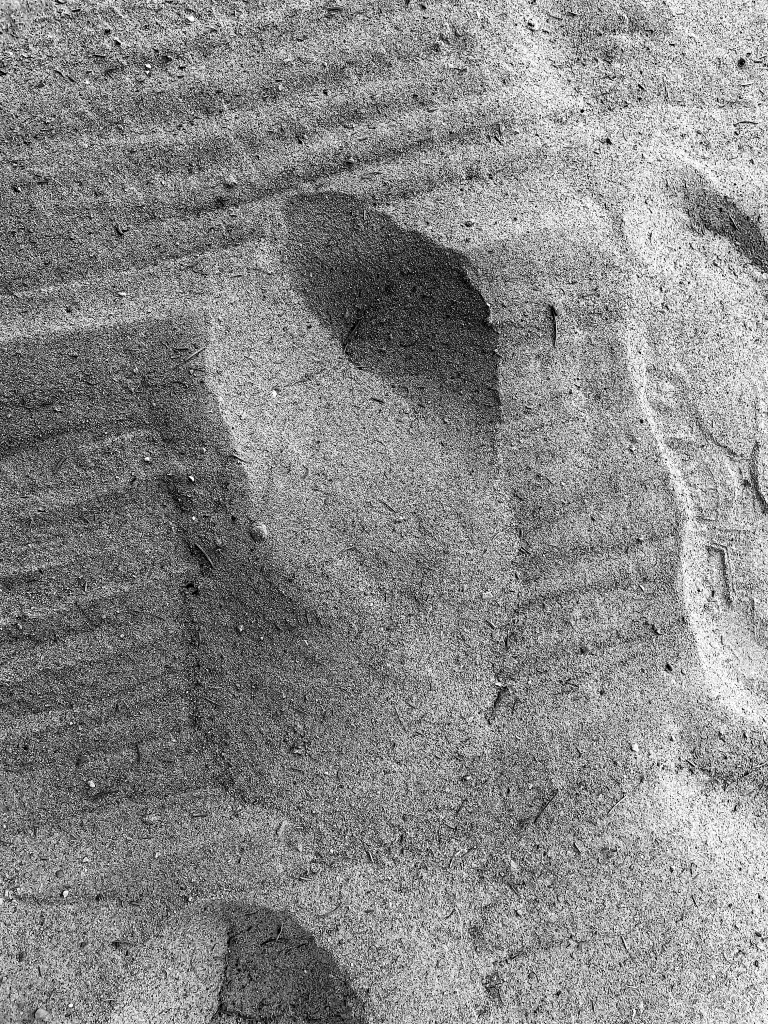
Series 4:
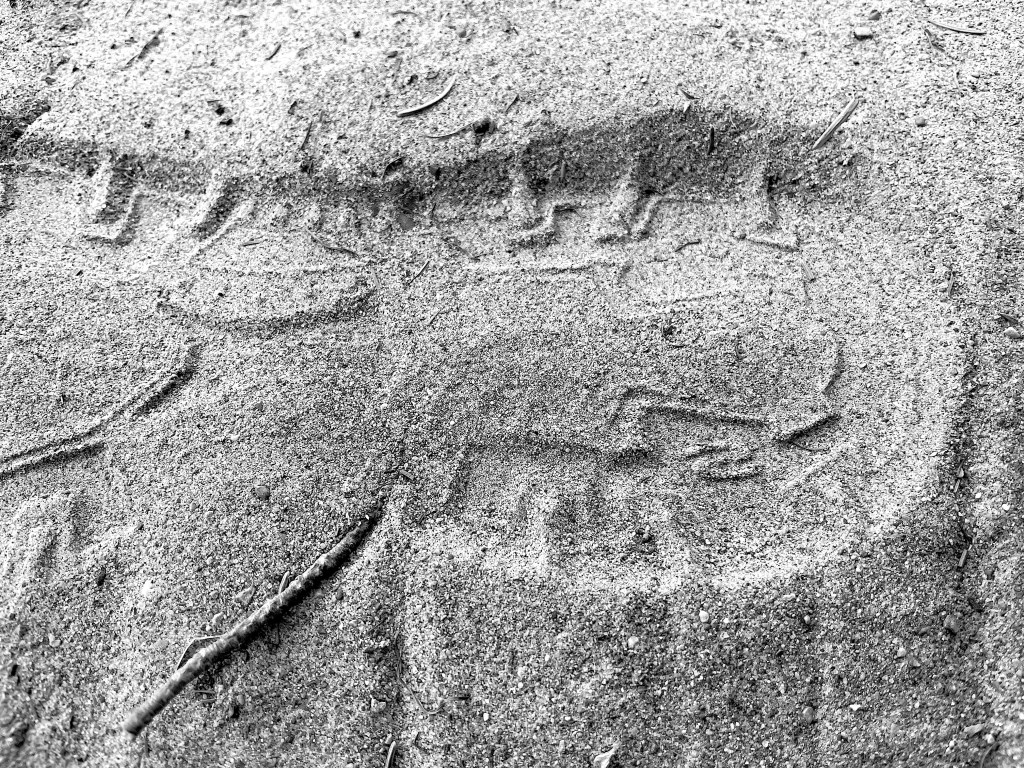
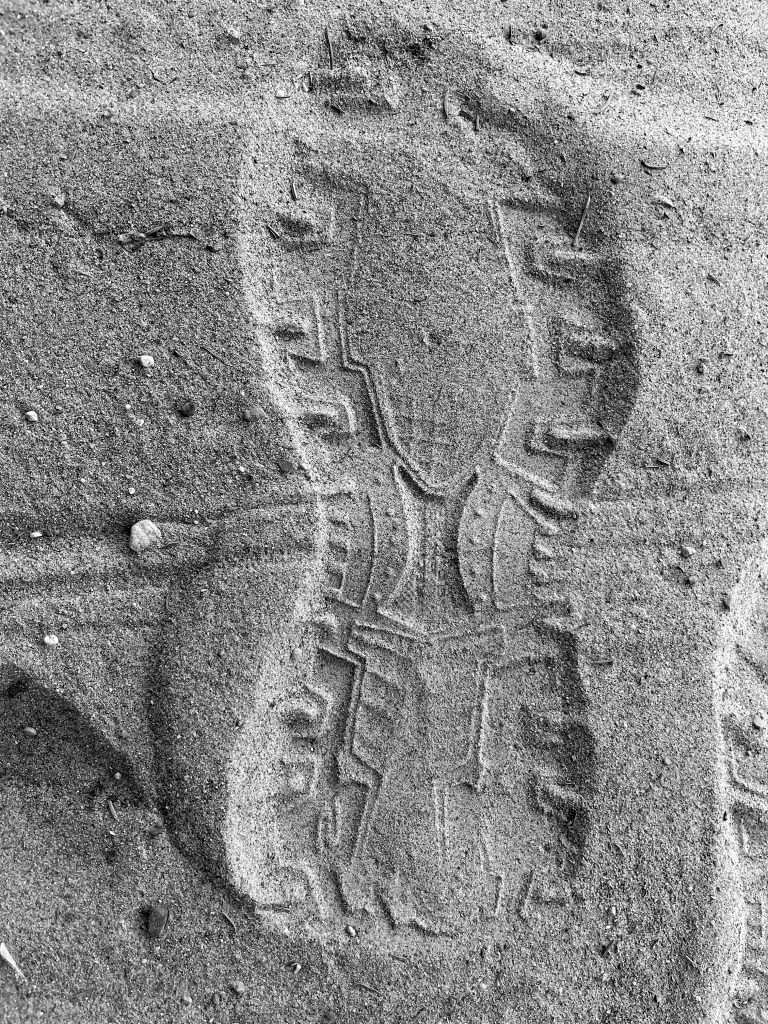
For the 4th series of tracks I walked slowly. Stopped with my right foot forward. Then turned to the right with greater force than in Series 2. Apparently this should correspond to the hour hand of a clock turning to 12:30. This seems very hard to judge. My intention here was to try and create a Pressure Release called a Crest (like a Ridge with an overhang). The photos for this are given below:
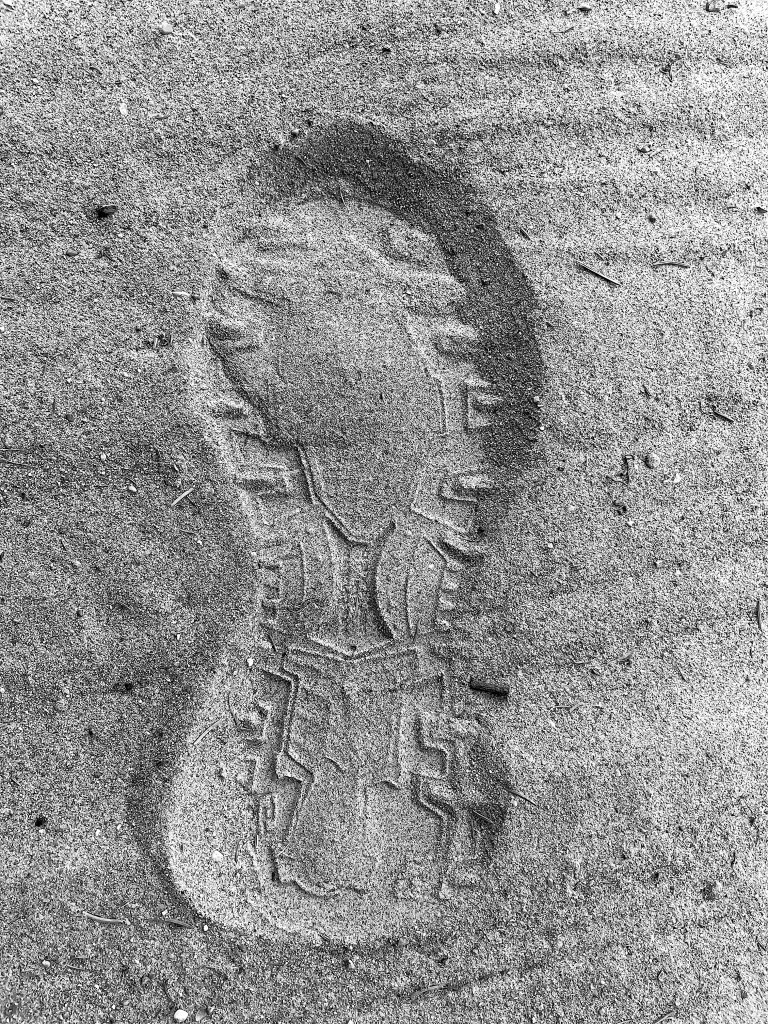
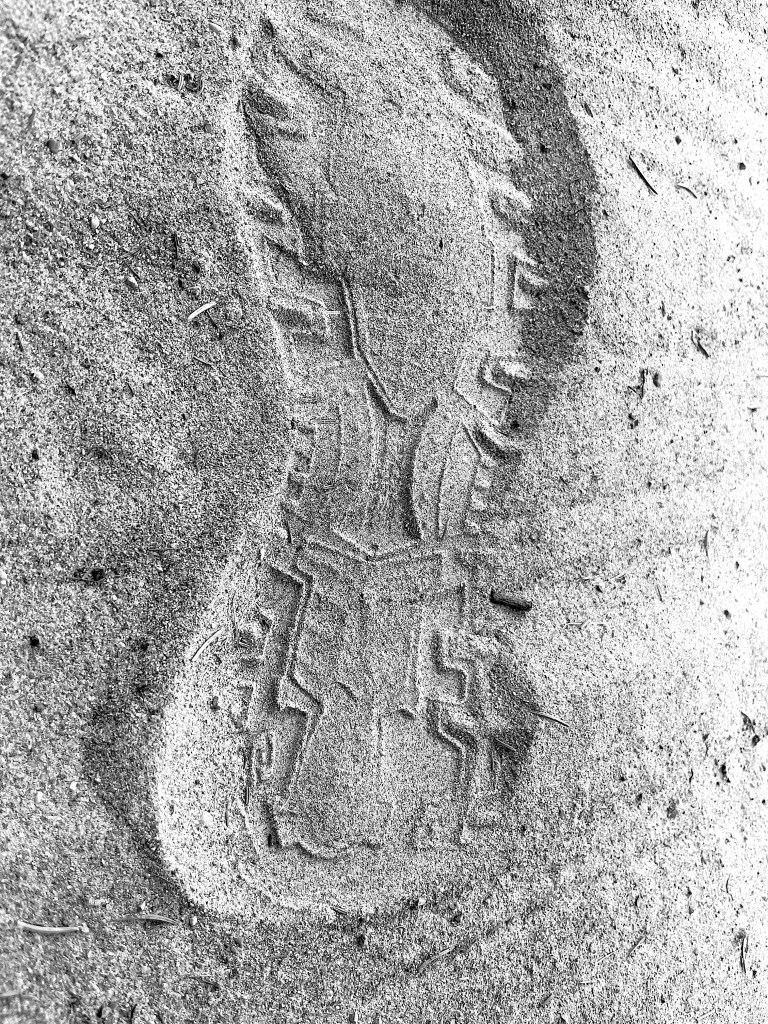
(Click individual photos for more detail.)
This is hard to see and I’m not 100% sure that I created this Pressure Release. Certainly in the 3rd photo above it looks like the Ridge is overhanging a bit. This is hard to photograph. I’m not surprised that Tom Brown does not include a photograph of this Pressure Release in his book!
I was unable to create a Crest-Crumble, a Cave or Cave-in. Or maybe I did but I could not see it. I believe this was because the sand was too dry.
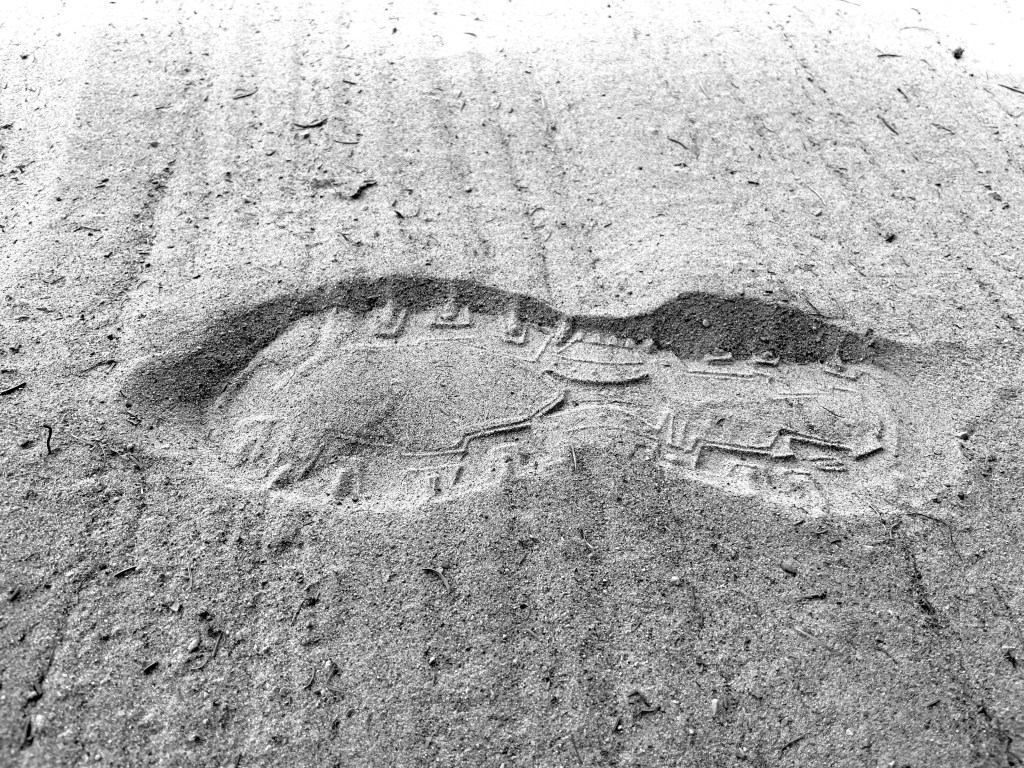
Series 5:
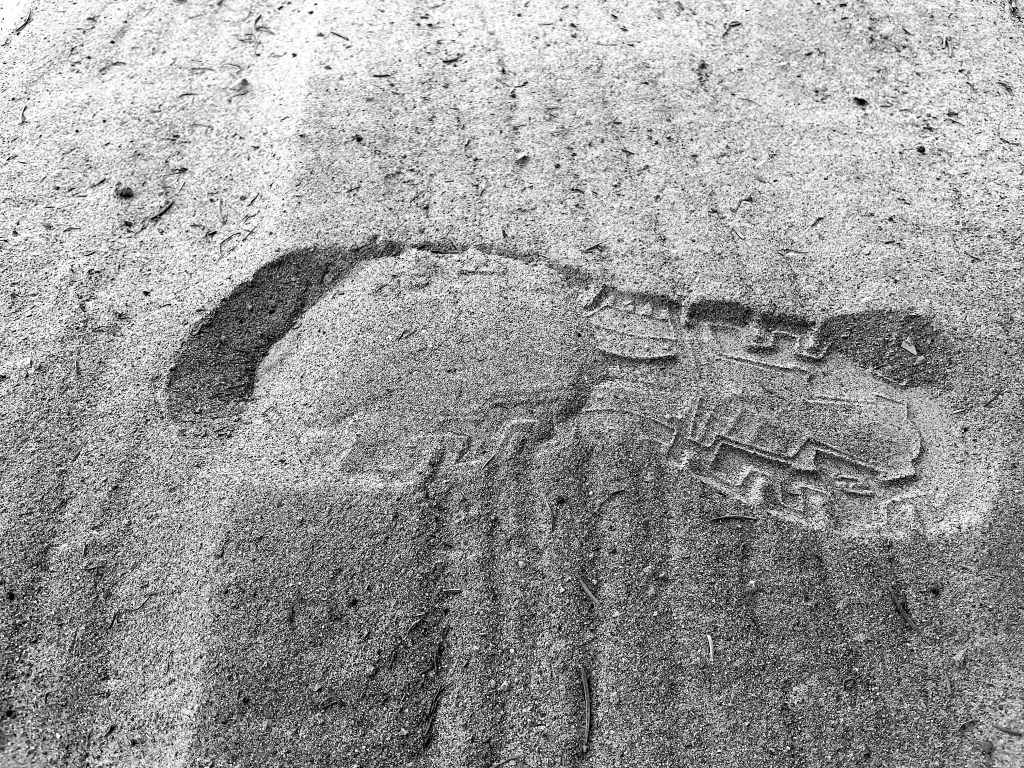
For the 5th series of tracks I walked slowly. Stopped with my right foot forward. Then turned to the right with considerably more force than in Series 2 or 4. My intention here was to try and create a Pressure Release called a Plate on the outside edge of the heal (in the opposite direction to the direction of the turn). The photos for this are given below:
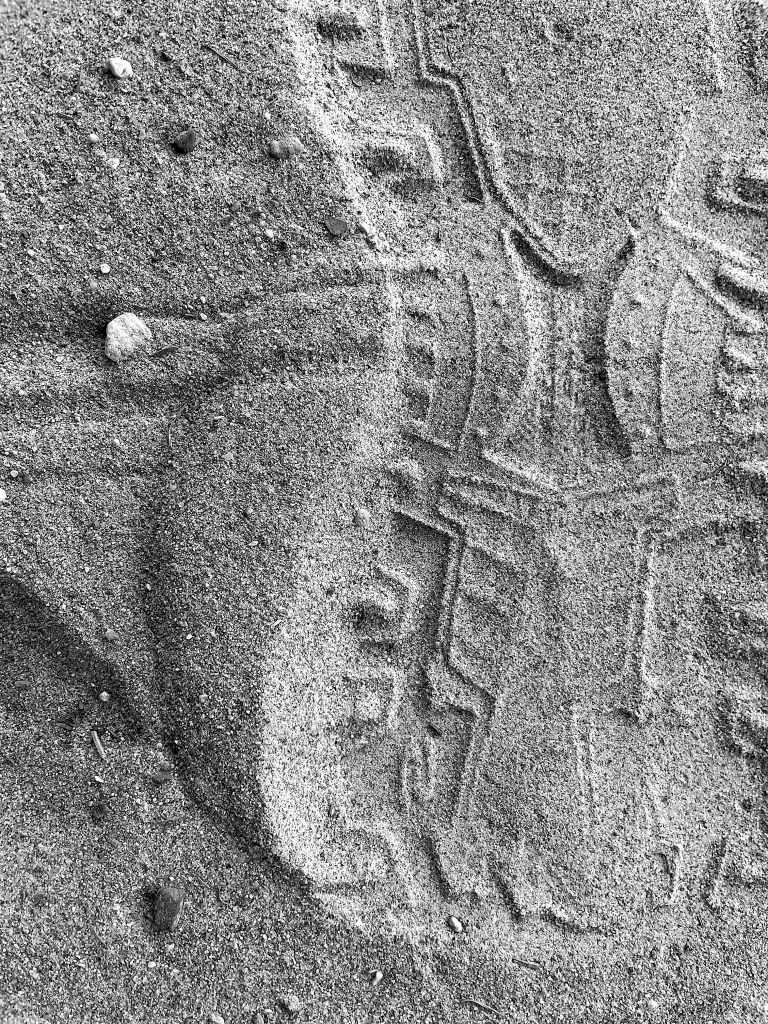
(Click individual photos for more detail.)
The Plate Pressure Releases are easy to see and correspond quite closely to the one in Tom Brown’s book (cf. photo 9, p.61).
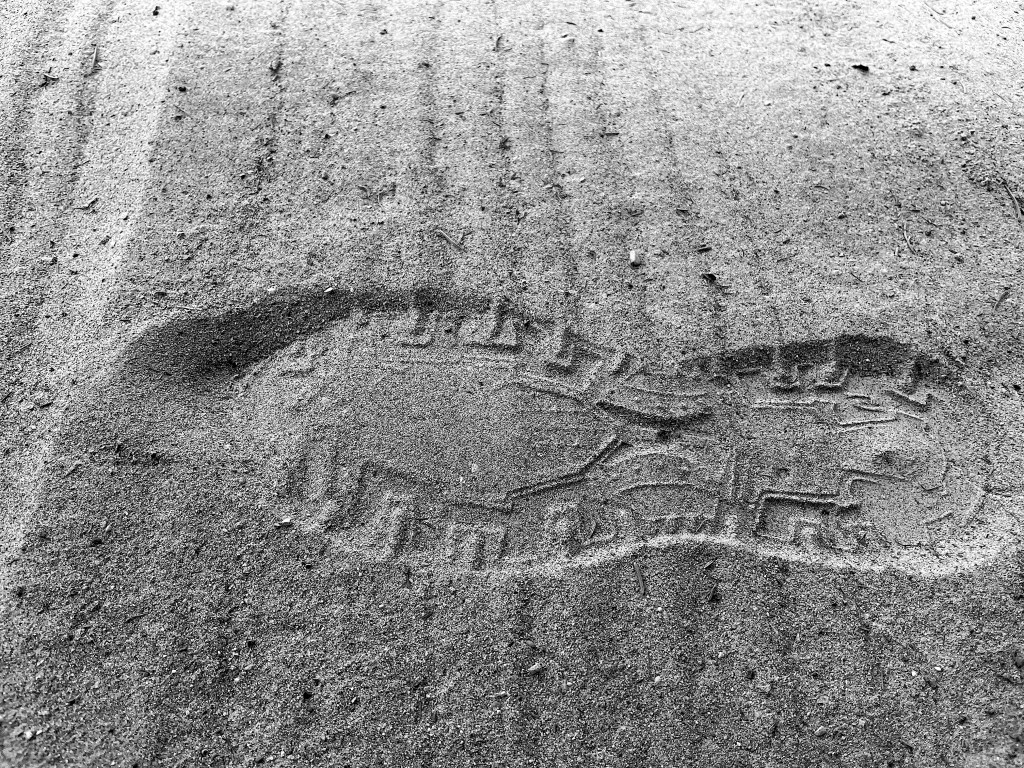
Series 6:
I tried turning with even more force (abrupt turn) to create a Plate-Fissure or a Plate-Crumble – see below:
(Click individual photos for more detail.)
In the 2nd photo we have zoomed-in on the track on the right of the 1st photo. The Plate is clearly visible, but I think the sand is just too dry to create a Plate-Fissure or a Plate-Crumble.
Series 7:
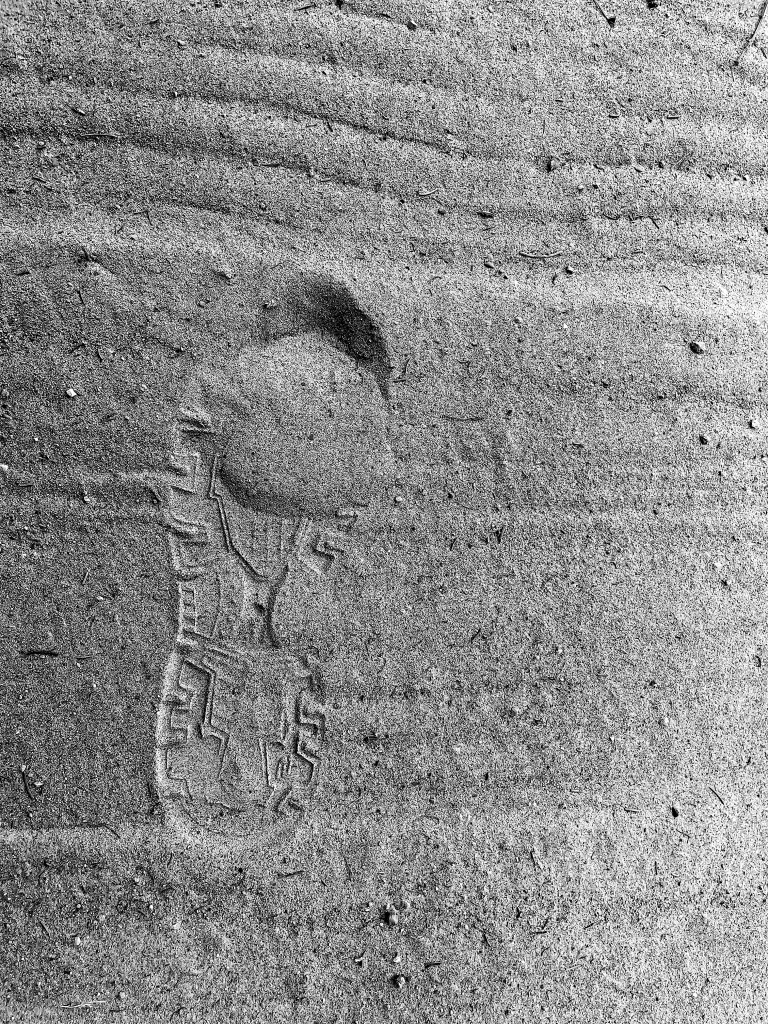
With my front foot (placed ahead of my hind foot) I tried accelerating forward to create the Explosion. See below:
(Click photo for more detail.)
As expected, sand was thrown backwards, but it looks more like a Plate to me than the photo in Tom Brown’s book (photo 13, p. 66).
Series 8:
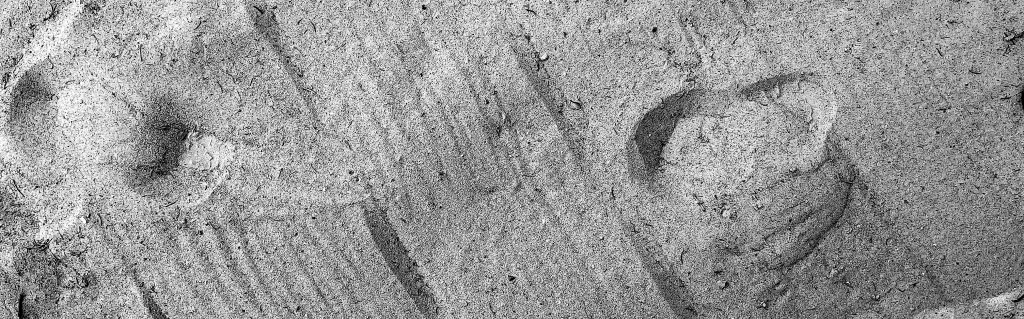
Here I was doing a slow walk in order to try and create the Wave:
(Click individual photos for more detail.)
I’m not sure if I can see a Wave here or not.
Series 9:
Here I am doing a medium speed walk in order to try and create a Double Wave:
(Click individual photos for more detail.)
It’s hard to tell but the track floor does have more structure than in series 8, and I can possibly see a Double Wave, although I can’t be certain.
Series 10:
In this series of tracks I start walking slowly, but then speed up. My intention was to create a Disk. It was only in the last photo (the other photos are omitted) that we see a clear Disc:
(Click individual photos for more detail.)
This corresponds very well to photo 17, p. 78 in Tom Brown’s book.
I could not create a Disc-Fissure or a Disc-Crumble, probably because the sand was too dry. I ran out of time so I didn’t try and make any more types of Pressure Releases.
Reflections:
There were two main factors that made it challenging to create the Pressure Releases. Firstly, as it was close to noon, the sun was almost overhead, yielding very little shadow and it was very bright. To get decent photos I had to use an umbrella to create shade. I also tried my best to colour enhance the photos on my computer to make any shadows stand out more. Another factor that became clear was that as the sand was bone dry and very ‘powdery’, certain Pressure Releases seemed impossible to create. For example, I could not make fissures or obvious crumbling of the substrate.
I suspect there is another more subtle reason why it can be difficult to create certain Pressure Releases. I was aware while I was making tracks that the mere act of trying to make a particular Pressure Release can interfere with the track formation process. Either I stiffened up, or my mind tried to anticipate what I was trying to do, which I’m sure interfered with the process! This really shows the art of tracking as an empty state of mind is required!
In the future I would like to repeat the above experiments, but:
- with sand that has some moisture in it
- make tracks barefoot
- try different substrates, e.g. mud, pine needles
- try making some of the other Pressure Releases
- make the tracks at night and then use a flashlight to highlight the features from various directions
If you read this far I hope you enjoyed my experiments and musing, and maybe this will encourage you to create your own Pressure Releases. I am curious if other people get similar results.

Leave a comment